

Prerequisites: Complete Lab 1: Get Ready before starting this lab. You should have the Kosli CLI installed and an API key configured.
Learning goals
- Understand the concepts of Flows and Trails
- Create your first Flow using the CLI
- Begin a Trail manually to track a process execution
- Integrate Flow and Trail creation into your CI/CD workflow
Introduction
Kosli uses Flows and Trails to organize and track your software delivery processes:- A Flow represents a repeatable business or software process (like your CI/CD pipeline). It defines what you want to track and what compliance requirements must be met.
- A Trail represents a single execution instance of that Flow. For example, each git commit creates a new Trail that tracks all activities for that specific change.
Exercise
1
Create a Flow manually
kosli create flow for full flag reference.2
Begin a Trail manually
A Trail represents one execution of your process. Create one using your latest git commit SHA:The Trail name is the git commit SHA, which uniquely identifies this execution and lets Kosli connect all activities (builds, tests, deployments) for that specific commit.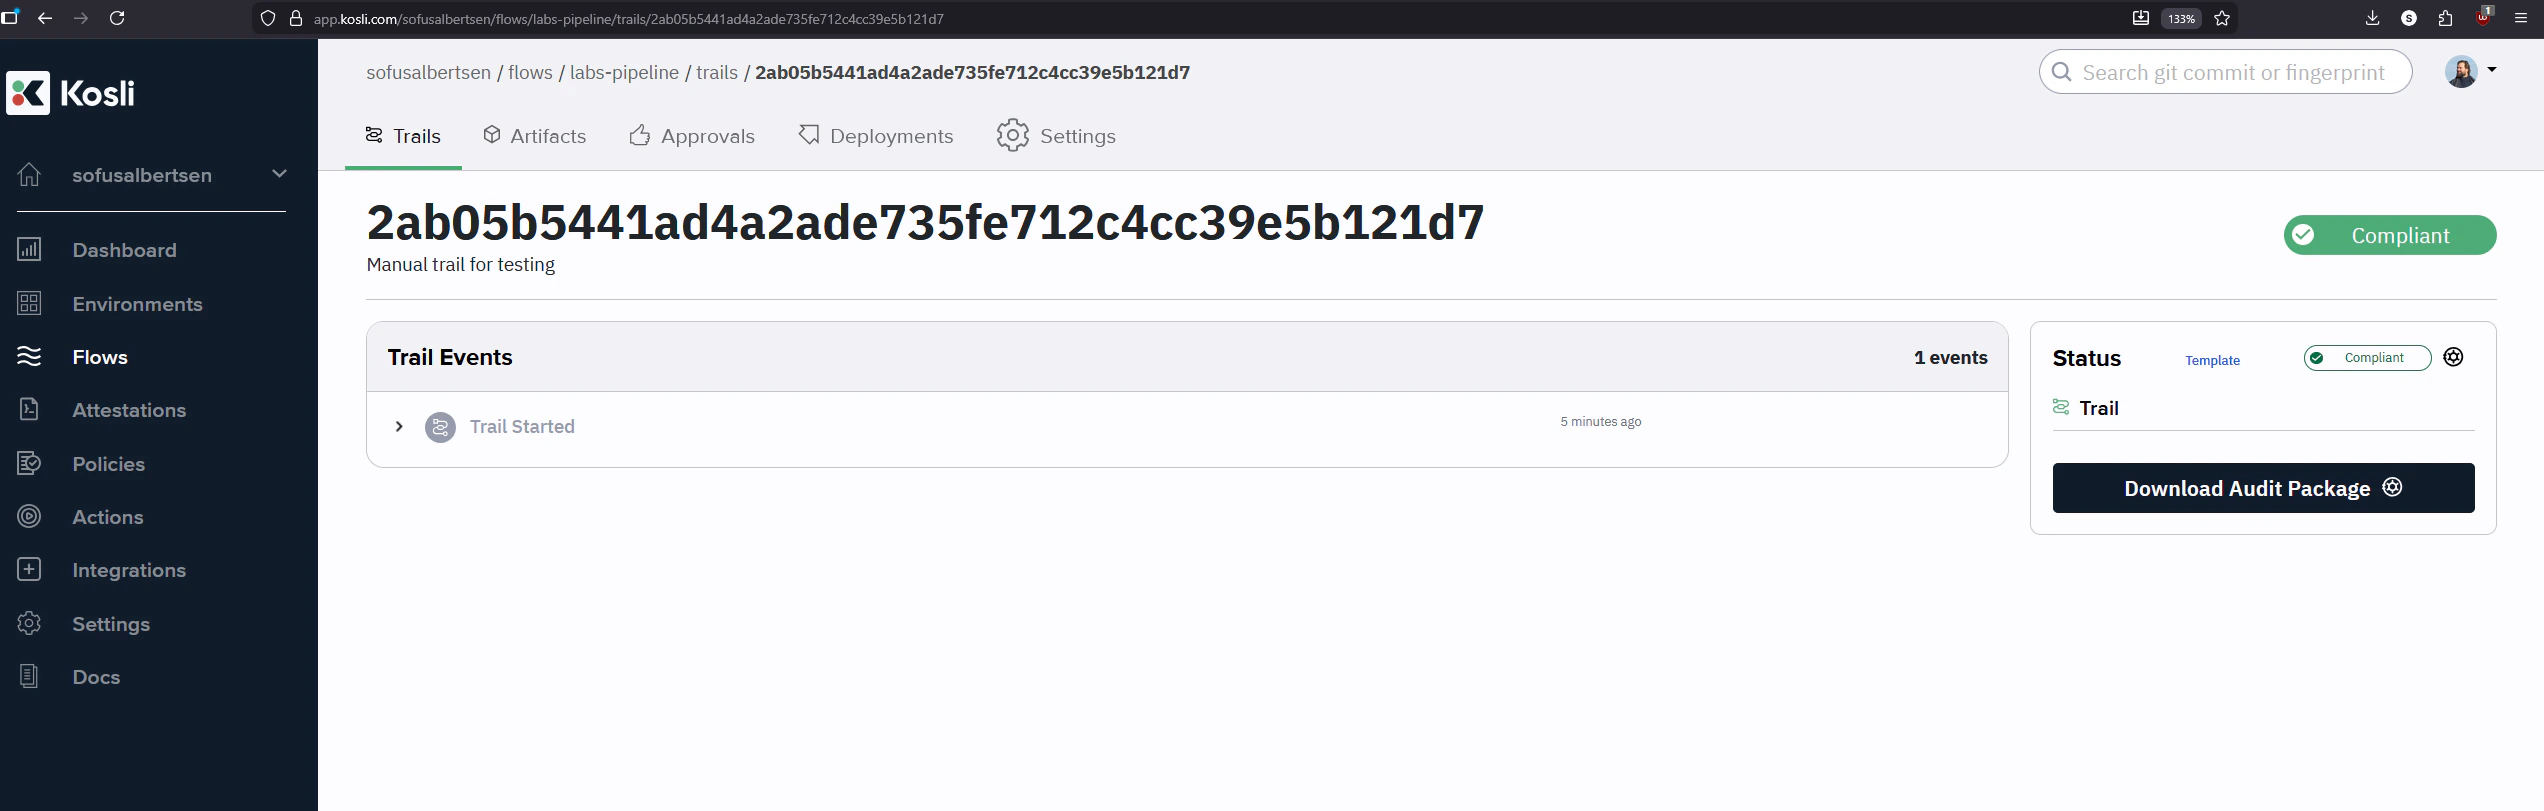
kosli begin trail for full flag reference.3
Explore trail immutability
Everything in a Kosli trail is immutable — updates are append-only. This is critical for compliance: if data could be changed, it could be tampered with.Run Now get the trail again:Notice the Events section shows both the original
begin trail again on the same commit with a slightly different description:trail started event and a new trail updated event — the history is preserved, not overwritten.4
Add Kosli secrets to GitHub
- In your repository, go to Settings → Secrets and variables → Actions
- Click New repository secret, name it
KOSLI_API_TOKEN, and paste your API key - Click Variables → New repository variable, name it
KOSLI_ORG, and enter your GitHub username
5
Update the GitHub Actions workflow
Open 2. Add Kosli steps just after the
.github/workflows/full-pipeline.yaml and make the following changes:1. Add global environment variables at the top of the file:actions/checkout step:6
Push and verify
Verification checklist
-
KOSLI_API_TOKENandKOSLI_ORGadded to GitHub Secrets/Variables - Flow created manually via CLI
- Trail created manually using a git commit SHA
- Workflow updated with Kosli steps and runs successfully
- Flow and Trails visible in the Kosli web interface
If anything didn’t go to plan, refer to the reference solution at
pipelines/02-complete.yaml in the labs repository.